


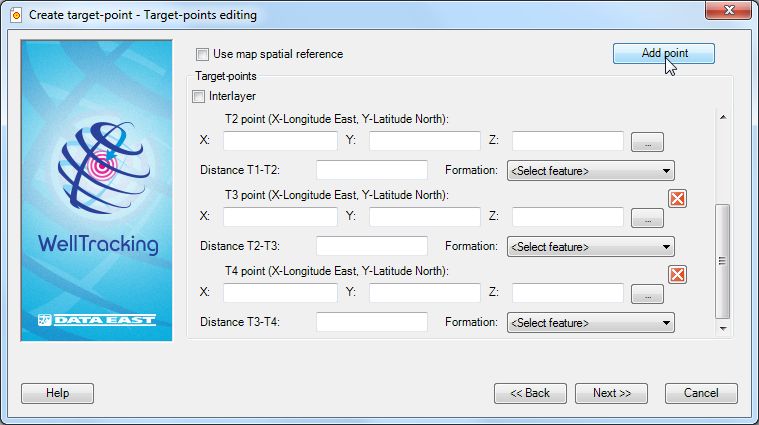
Step 3. Target-points editing
At this step specify the target-point coordinates and the formation number.

The Use map spatial reference option is provided to enter map coordinates, which can differ from the database coordinates. If this option is not checked the feature coordinates will be automatically projected to the database coordinates.
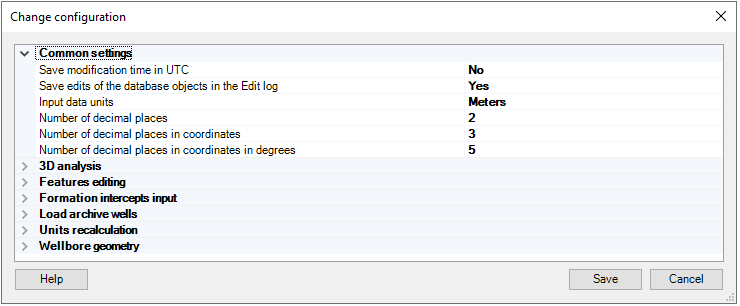
The accuracy of the mouse cursor position on the map depends on the system coordinates settings, especially if you use the geographic coordinate system. Open the Change configuration dialog to edit the default settings:
There are following options to specify X, Y coordinates for the target-point:
1. The coordinate values can be specified manually in the appropriate fields.
2. The coordinates can be specified by clicking on the required place on the map, to do this press the button on the right of the coordinate values field and then point the mouse cursor to the appropriate location on the map.
3. The coordinates can be obtained from the point layers of your map. Press the button on the right of the coordinate values field, then point the cursor to the required location and change the cursor appearance to the frame.
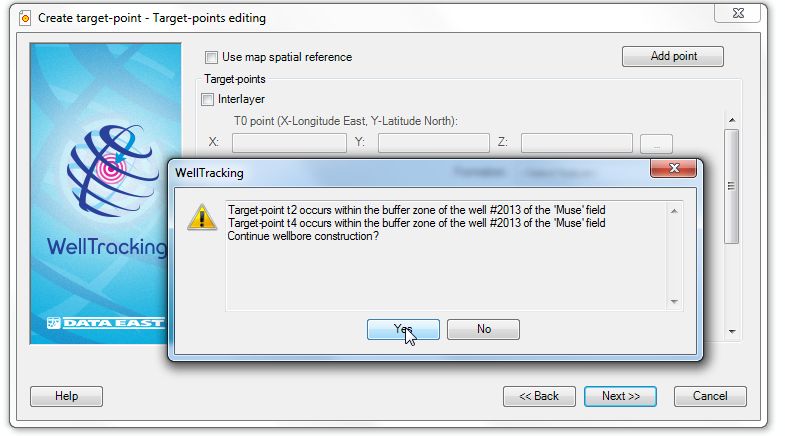
In case if several features locate in the selected map area, you will be suggested to confirm your choice. So, select the required point from the double table Select object. The selected point in the table will be highlighted on the map.
Press OK button of the Select object table dialog and the X, Y fields of the Create target-point dialog will be filled in automatically.
The Z coordinate of the target-point is specified based on the formation depth value selected from the correspondent list. This value can be edited manually, if required. Though be noted that in case if the input value differs from the default one, the appropriate warning message appears. The default values are specified in the Administration > Change configuration > Features editing.
-
For the Vertical well the target-point T1 with X, Y coordinates is specified.
-
The Horizontal wellbore type is specified based on T1 and T2 coordinates. The Add point option allows to sequentially add up to 10 more target-points (up to T12). The distance between all target-points is calculated automatically. Though, you can manually enter the horizontal wellbore length along T1-Tn vector in order to correct the target-points location, if required.
-
To create the Deviated wellbore you will need to specify the T1 target-point location using the mouse cursor or entering its coordinates manually. Z coordinate is defined based on the formation depth and is filled in automatically. In case if one target-point is not enough to construct the wellbore, you can use the Add point option. The values of X, Y, Z coordinates as well as the distance between target-points can be corrected manually.

If needed, you can specify an additional point T0 (the interlayer entry) between the wellhead and T1. Note that such T0 point can be specified for all wellbore types.
Click Back to get back to the previous step, Next to continue creating the wellbore and Cancel to exit the Create target-point tool dialog.
*****