


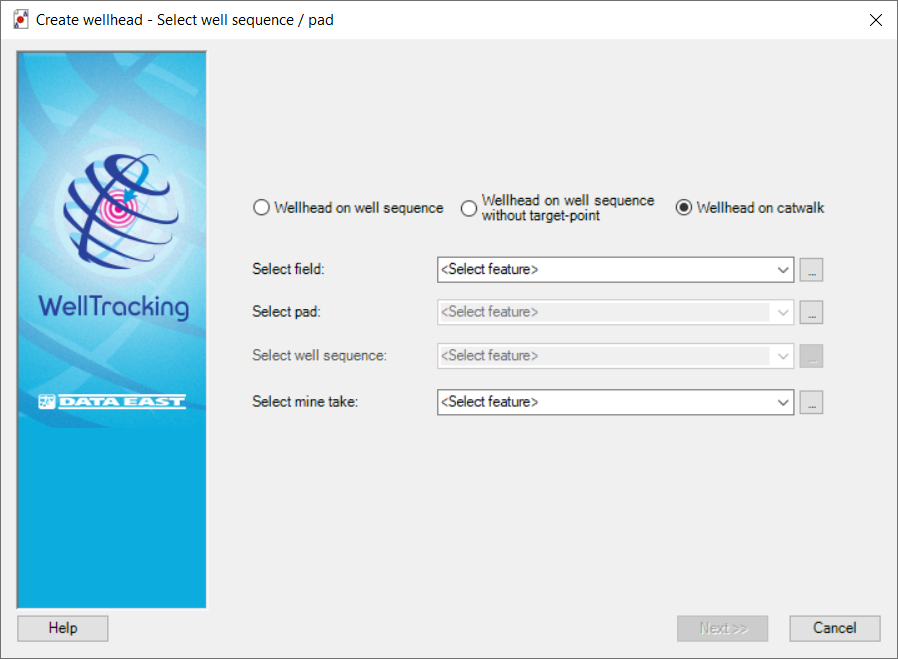
Step 1. Select well sequence / pad
At this step you should select to create wellhead either on well sequence or on catwalk:
1. Create wellhead on well sequence

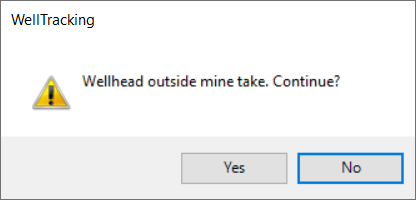
Select mine take corresponding to your feature. If the feature crosses the mine take borders, the appropriate warning message will appear.
There are two methods of selecting the field, the well sequence etc.:
from the appropriate list of the project features or by clicking Select
button located on the right of the list boxes and then pointing to the
required feature on the map with the cross hair cursor ( ).
This cursor can be changed to a frame to capture larger area on
a map with several features.
).
This cursor can be changed to a frame to capture larger area on
a map with several features.
The features found in the frame are placed into the twin table Select feature. Select the required feature from the list and click OK.
You can at first select the well sequence using the frame and the Select feature table (see above) and the pad and the field name will automatically appear in the dialog. Click Next.
2. Create wellhead on well sequence without target-point

The choice of field, pad and well sequence can be made from the appropriate lists.
You can select the well sequence from the map and then the dialogue will be filled automatically.
Select mine take corresponding to your feature. If the feature crosses the mine take borders, the appropriate warning message will appear.
3. Create wellhead on catwalk
Selecting the Wellhead on catwalk option at this step, the user specifies field and pad only.
Click ОК and Next to move to the next step of creating the wellhead.
Click Cancel to exit the Create wellhead tool dialog.
*****