


Step 4. Edit user attributes of the license area
At this step the table data of the selected license area can be edited.
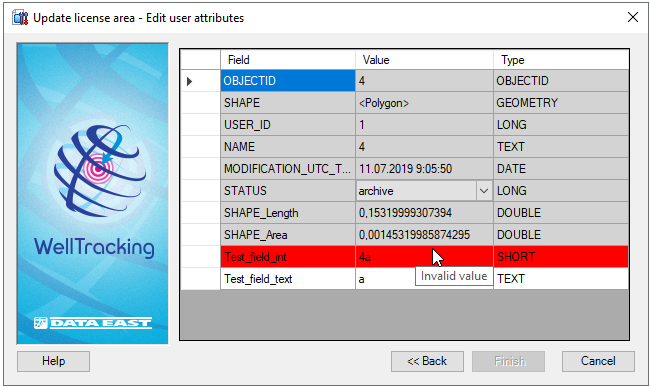
Context pop-ups describing found errors and the option of sorting values for the Field and Type fields are provided for user's convenience.
The fields for editing are marked white. There is no option of inputting new field in the attribute table at this step. The process of adding the fields is performed before calling this wizard, which is described in the Add fields to the attribute tables section.
Service fields, which are not to be edited by the user, are marked grey.
Incorrectly input parameters are marked red and in this case the Finish button becomes disabled.
Press Back to get back to the previous step of modifying the license area geometry.
Click Cancel to exit the Update license area tool.
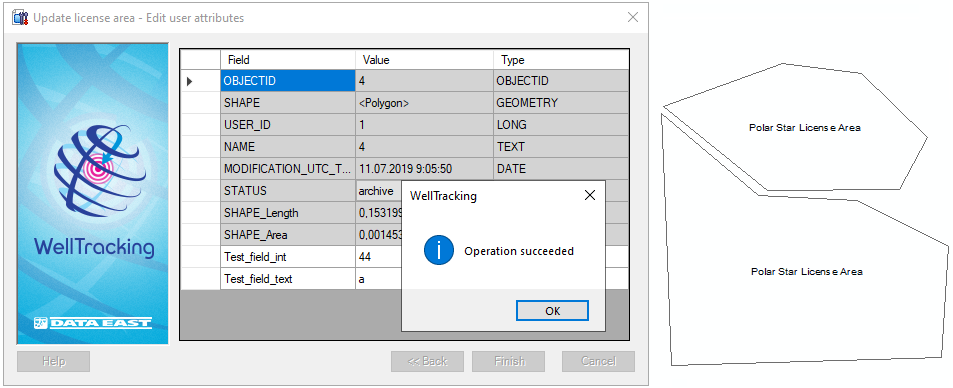
Press Finish to finish the Update license area process, so that the new geometry is built automatically and the attributes of the selected license area are changed.
*****