


Step 1. Select license area
The next dialog suggests user to select the updated license area.
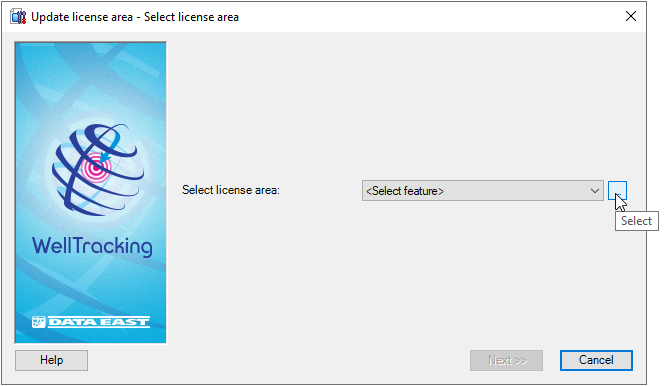
There are two methods of selecting the license area: from the list of all project license areas or by specifying the area on the map.
By using the first method the required area is selected from the drop-down list of license areas. The selected area on the map will be displayed in green.
By using the second method you need to press Select
button located on the right of the list box and then to point to the required
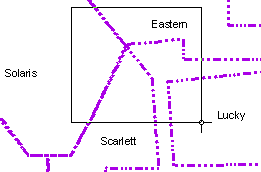
area on the map with the cross hair cursor ( ). This
cursor can be changed to a frame to capture larger area on a map with
several license areas.
). This
cursor can be changed to a frame to capture larger area on a map with
several license areas.
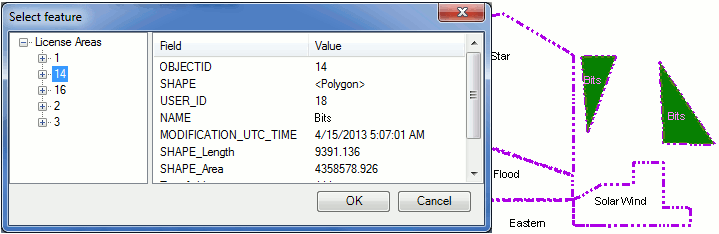
The areas found in the frame are placed into the twin table Select feature. Here you can view the license areas attributes and see them highlighted on the map. Select the required feature from the list and press OK.
Press Next to move to the next step or Cancel to exit the Update license area dialog.
*****