Step 5. Summary info
At this step you can check the summary of the created target-point in the next dialog. If everything is OK, click Finish to complete the target-point creation process.
-
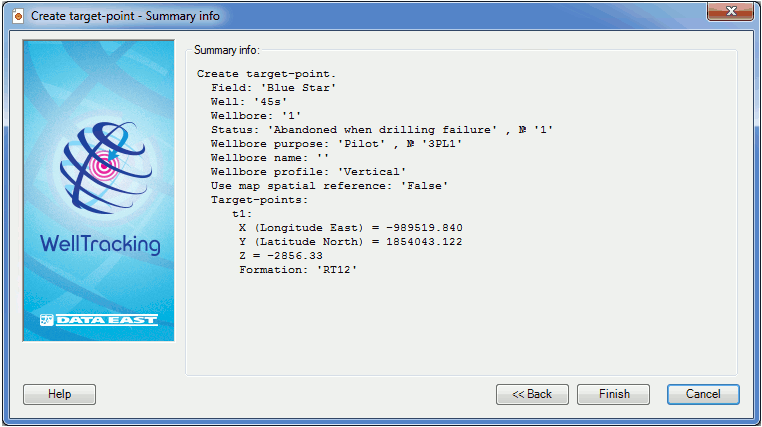
The summary info dialog for the Vertical wellbore with t1 target-point:
-
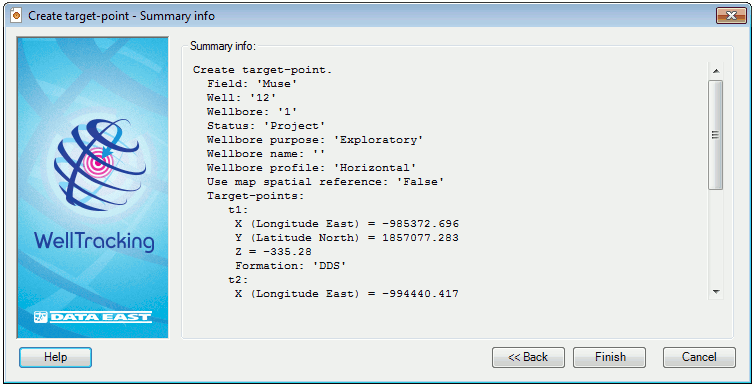
The summary info dialog for the Horizontal wellbore with t1, t2, t3, t4 target-points:
-
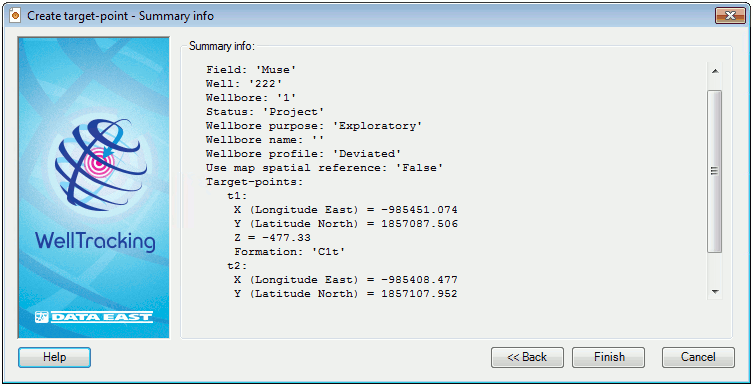
The summary info dialog for the Deviated wellbore with t1, t2 target-points:
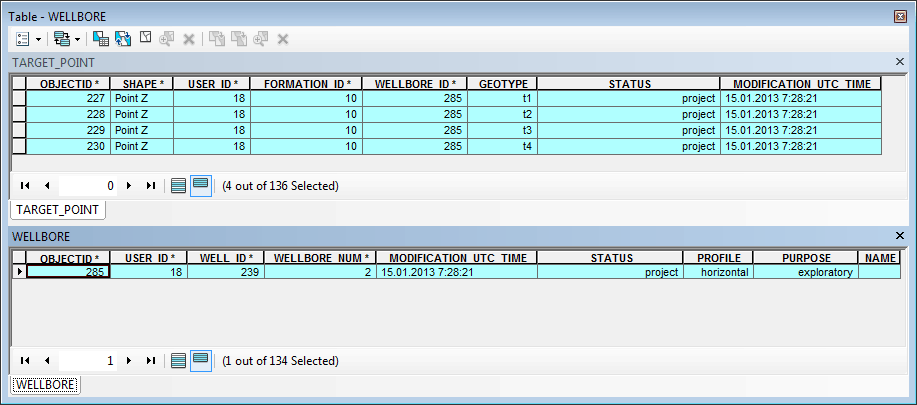
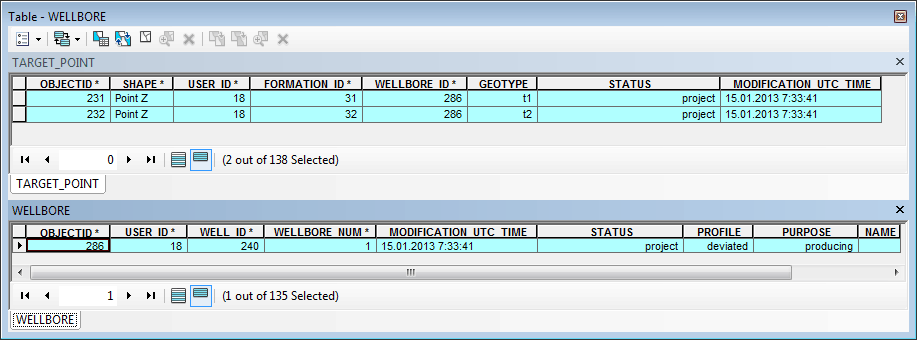
The new wellbores will be added to the specified field and the attribute table of the target-point layer TARGET_POINT and WELLBORE will be filled in with the rows corresponding to the specified points.
- The tables for the Vertical wellbore with 1 target-point:

- The tables for the Horisontal wellbore with 4 target-points:
- The tables for the Deviated wellbore with 2 target-points:
Click Back to get back to the previous steps and Cancel to exit the Create target-point tool dialog.
*****


