


Step 1. Specify well parameters
In the next dialog specify the field and the projected well parameters.

-
Select field option: select the field using the list of your database fields. If you want to create the new target-point in the existent pad area, then press the Select button and point to any pad from this field on the map. The field name of the selected pad area will be automatically added to the dialog.
-
Specify mine take if it is necessary.
-
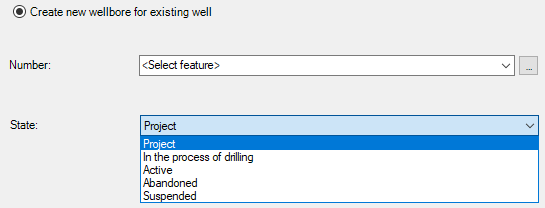
Specify well parameters: New or Existent. For selected well the wellbore with next number will be specified.
-
Select mine take corresponding to your feature. If the feature crosses the mine take borders, the appropriate warning message will appear.
-
Specify well and wellbore numbers: By creating the new well specify its order number and the wellbore type. By specifying the next wellbore of the existent well select the required well from the list or using the Select button. The next well number is set automatically, however the user can manually specify the number, if required.
-
Specify well State using the appropriate list.
Click Next to continue creating the target-point.
Click Cancel to exit the Create target-point tool dialog.
*****