Identification templates management
You can customize existing templates for identification dialogs displayed in the output mobile map or create your own templates. To access identification templates management menu press the Customize Identification templates button on the CarryMap Builder toolbar.
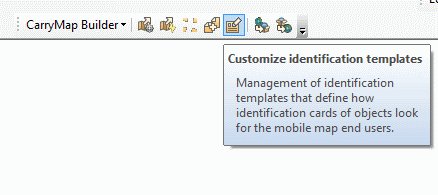
In this menu you can view, edit and create templates for identification dialog.
There are two types of templates: system and user templates. System templates can’t be edited, but you can use them if you don’t need any customization. User templates can be created and edited.

When you install CarryMap Builder three system templates will be available for you:
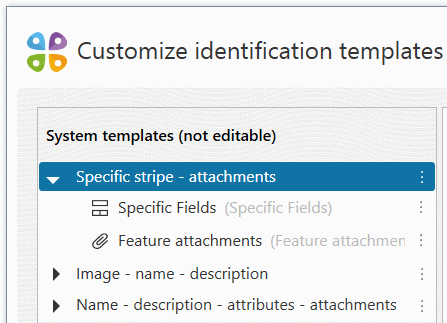
- Specific stripe – attachments
This simple template demonstrates feature attribute table and then all feature attachments in form of gallery (for images) and list (for other attachments). It is the default template that is suitable for most maps because it shows most information in a simplest way.
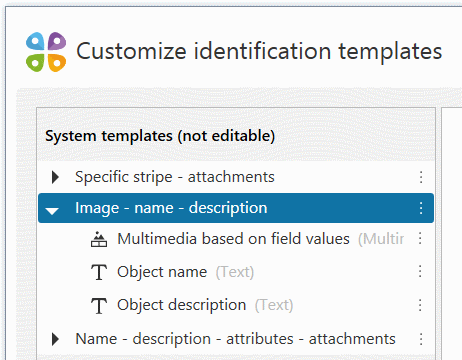
- Image – name – description
This template demonstrates image based on field value, then name of the object (Text stripe) and description (Text stripe). It can be used to create colorful object cards that should not contain all attribute info.
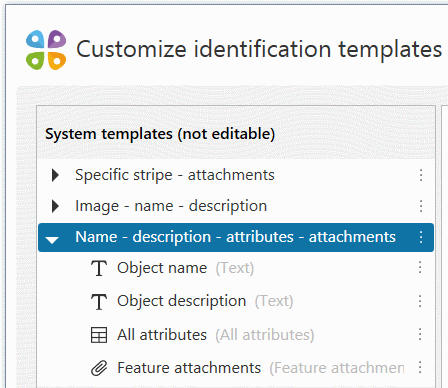
- Name – description – attributes – attachments
This template is similar to the first one, but also contains object name and description (Text stripes). It may come in handy if you need not only to show attribute info and feature attachments, but also to highlight feature name and some description field.
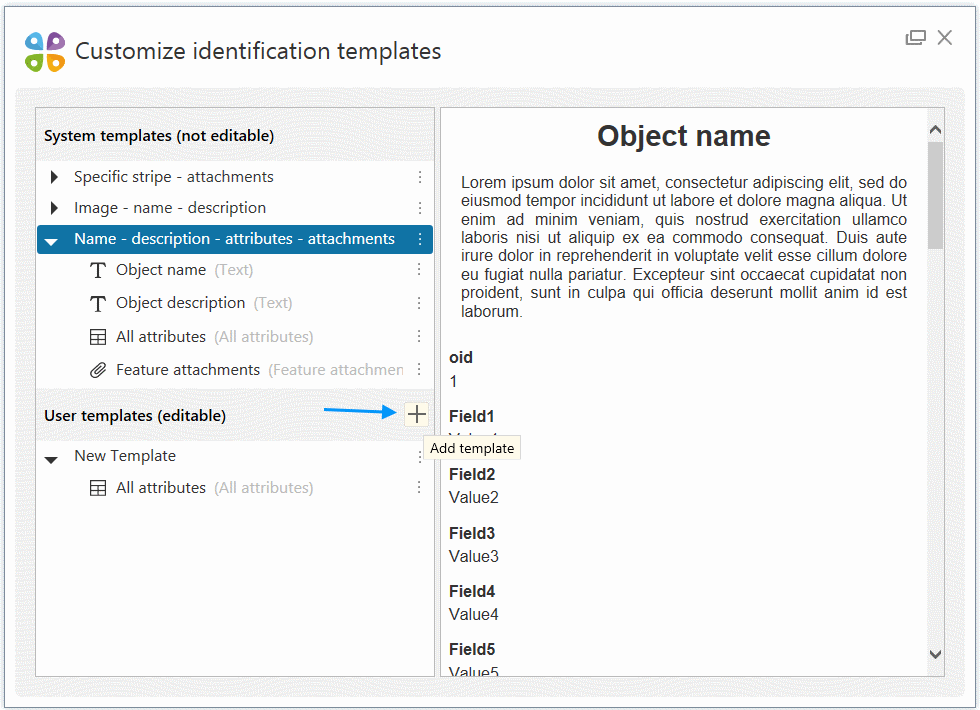
All identification templates consist of stripes – horizontal sections. If you want to create a new template you should choose which one you want to create – an empty one (you will have to add some stripes to it) or a predefined one – a copy of one of the system templates.
If you want to add stripes to a user template you should press template context menu button, select “Add stripe”, and select type of stripe you want to add.
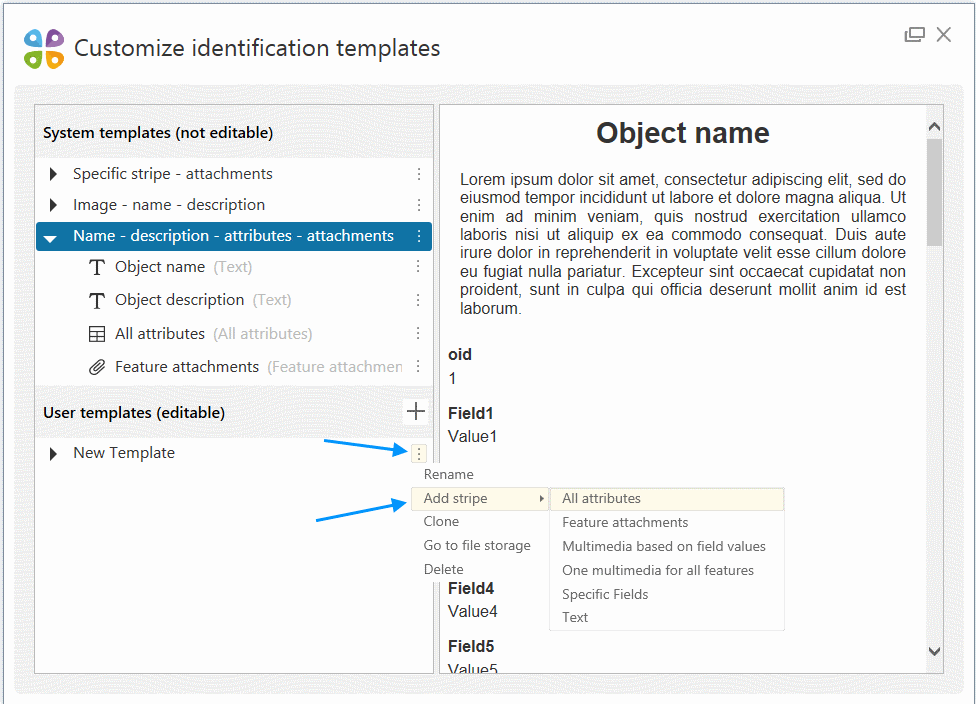
There can be six types of stripes:
- All attributes
With this stripe, you can demonstrate feature attribute table with all fields (excluding hidden fields). You can customize text or background options and exclude display field if you want.
- Feature attachments
This stripe allows you to demonstrate all or some of the feature attachments – images, videos, audio files, documents, etc. You can choose which type of attachments you want to show and which view to use – List (all attachments will be displayed as a list), Gallery (images will be displayed as clickable picture previews, all other attachments will be displayed as a list), or Full-sized (images will be displayed in full size, video files will be displayed as a video player, audio files as an audio player, all other attachments will be displayed as a list).
- Multimedia based on field values
Using this stripe, you can add multimedia file that will be selected by the value of some specific attribute. For example, there is a field containing object ids in your layer. You can name images you want to add to this layer’s identification cards in respect to those ids (1.png, 2.png for example) and use this stripe. You can choose which file extension will you use and background color of this stripe.
- One multimedia for all features
With this stripe, you can set one multimedia file that you want to be displayed on every feature identification card – for example, your company logo. You can choose multimedia file you want to add and background color of this stripe.
- Specific fields
This stripe allows you to demonstrate part of the features attribute table – only some attributes that you want end users to see. You can customize text or background options for this stripe in Identification Templates Management menu. Fields you want to display should be chosen in Map tab of Configured extraction window.
- Text
With this stripe, you can add custom text to every object card in the layer or add value from some specific field. You can customize text or background options for this stripe in Identification Templates Management menu. In case you want to display value of some field this field should be chosen in Map tab of Configured extraction window.
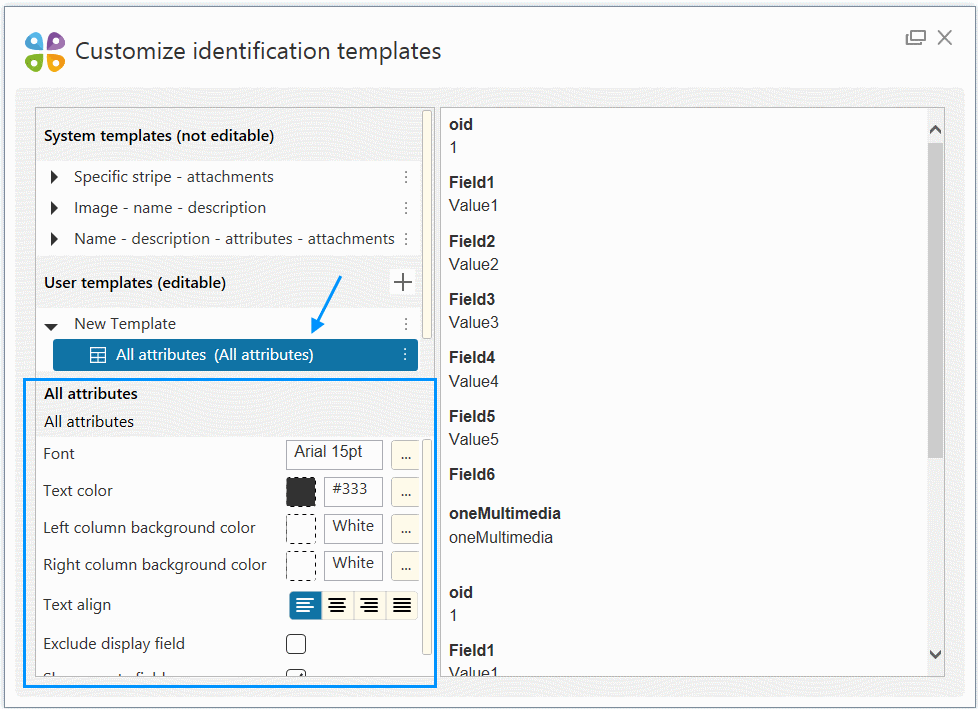
You can customize each stripe of user templates by opening template tree and selecting stripe – stripe settings section will appear at the bottom of the window.
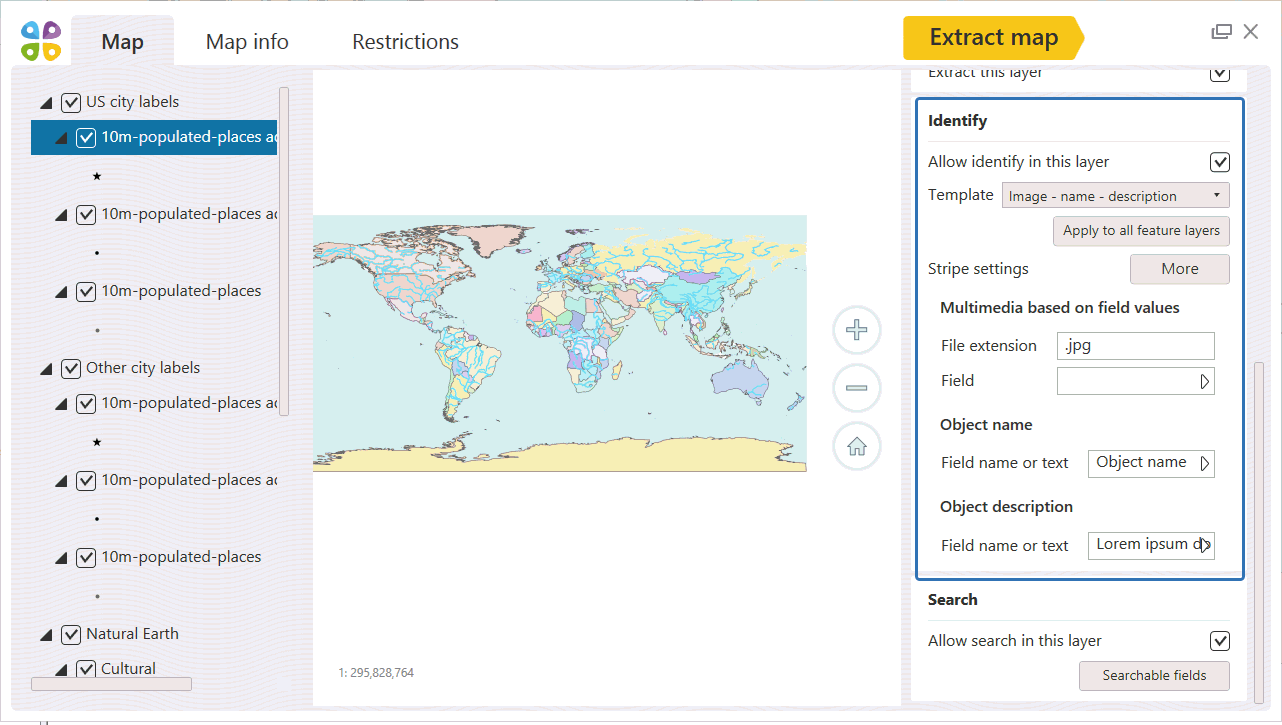
Only basic templates customization is available in the Identification templates management menu. All settings are available in the Map tab of Configured Extraction window, in the bottom right corner of the screen below the section where you choose which identification template should be used for the selected layer.
